最详细整理,HttpRunner接口自动化框架Hook机制详解(详细)
目录:导读
前言
httprunner 4.x可以支持hook机制,在发送请求前做一些预处理或在请求完成后后置处理
setup_hooks :主要用于处理接口的前置的准备工作,也可以对请求 request 参数签名加密等操作
teardown_hooks:主要用于后置清理工作,也可以对返回 respone 解密等操作
测试步骤添加hook
在项目根目录新建 debugtalk.py,名称一定要一样
# debugtalk.py


def hook_up():
    print("前置操作:setup!")

def hook_down():
    print("后置操作:teardown!")
只在第一个步骤添加 setup_hooks 和 teardown_hooks
test_h.yml
config:
    name: logincase
    variables: {}

teststeps:
-
    name: step1 login
    request:
        url: http://www.example.com
        method: GET
    setup_hooks:
      - ${hook_up()}
    teardown_hooks:
      - ${hook_down()}
执行用例
hrp run test_h.yml --gen-html-report
执行用例发现有报错
8:58AM ERR gRPC Call() failed error="rpc error: code = Unknown desc = Exception calling application: Function return type
 <class 'NoneType'> not supported!" funcArgs=[] funcName=hook_up
8:58AM ERR call function failed error="rpc error: code = Unknown desc = Exception calling application: Function return ty
pe <class 'NoneType'> not supported!" arguments=[] funcName=hook_up
8:58AM ERR run step end error="run setup hooks failed: rpc error: code = Unknown desc = Exception calling application: Fu
nction return type <class 'NoneType'> not supported!: call function failed" step="step1 login" success=false type=request
8:58AM ERR [Run] run testcase failed error="abort running due to failfast setting: run setup hooks failed: rpc error: cod
e = Unknown desc = Exception calling application: Function return type <class 'NoneType'> not supported!: call function f
ailed"
提示函数不能return NoneType (可能是go 引擎执行的时候不支持return None, 使用python的 pytest执行没问题)
稍微改下,给个return 即可
# debugtalk.py


def hook_up():
    print("前置操作:setup!")
    return ""


def hook_down():
    print("后置操作:teardown!")
    return ""
请求 request 预处理
针对请求request 发出去的参数预处理,也可以用到 setup_hooks,需传一个内置 request 参数,debugtalk.py代码如下
def request_sign(request):
    """请求sign签名"""
    print("请求body:", request.get("body"))
    # 新增 sign 参数
    request["body"]["sign"] = "sign xxxxxxxxxxxxxxx"
    print("sign 签名后请求body:", request.get("body"))
    return request
test_h1.yml
config:
    name: logincase
    variables: {}

teststeps:
-
    name: step1 login
    request:
        url: http://www.example.com
        method: POST
        json:
           user: test
           psw: "123456"
    setup_hooks:
      - ${request_sign($request)}
执行用例
hrp run test_h1.yml --gen-html-report
查看报告,请求参数添加 sign 签名成功
这里请求预处理跟之前3.x 版本写法有一点点区别,如果想用执行的hrun去执行,需改下debugtalk.py 文件内容
# debugtalk.py
def request_sign(request):
    """请求sign签名"""
    print("请求body:",request.get("req_json"))
    # 新增 sign 参数
    request["req_json"]["sign"] = "sign xxxxxxxxxxxxxxx"
    print("sign 签名后请求body:", request.get("req_json"))
    return request
(获取请求参数的 body 改成 req_json)
返回 response 处理
如果需要在接口返回后,对返回的结果处理,可以添加respone请求参数,比如我把返回的body改成了"momo"
def response_status(response):
    """修改返回状态码"""
    print("返回response body:", response["body"])
    response["body"] = "momo"
    print("修改后返回response body:", response["body"])
    return response
这对于返回的body是加密的数据,可以自己去解密后返回解密内容很有帮助
config:
    name: logincase
    variables: {}

teststeps:
-
    name: step1 login
    request:
        url: http://www.example.com
        method: POST
        json:
           user: test
           psw: "123456"
    teardown_hooks:
      - ${response_status($response)}
    validate:
      - eq: [status_code, 200]
      - eq: [body, "momo"]
| 下面是我整理的2023年最全的软件测试工程师学习知识架构体系图 |
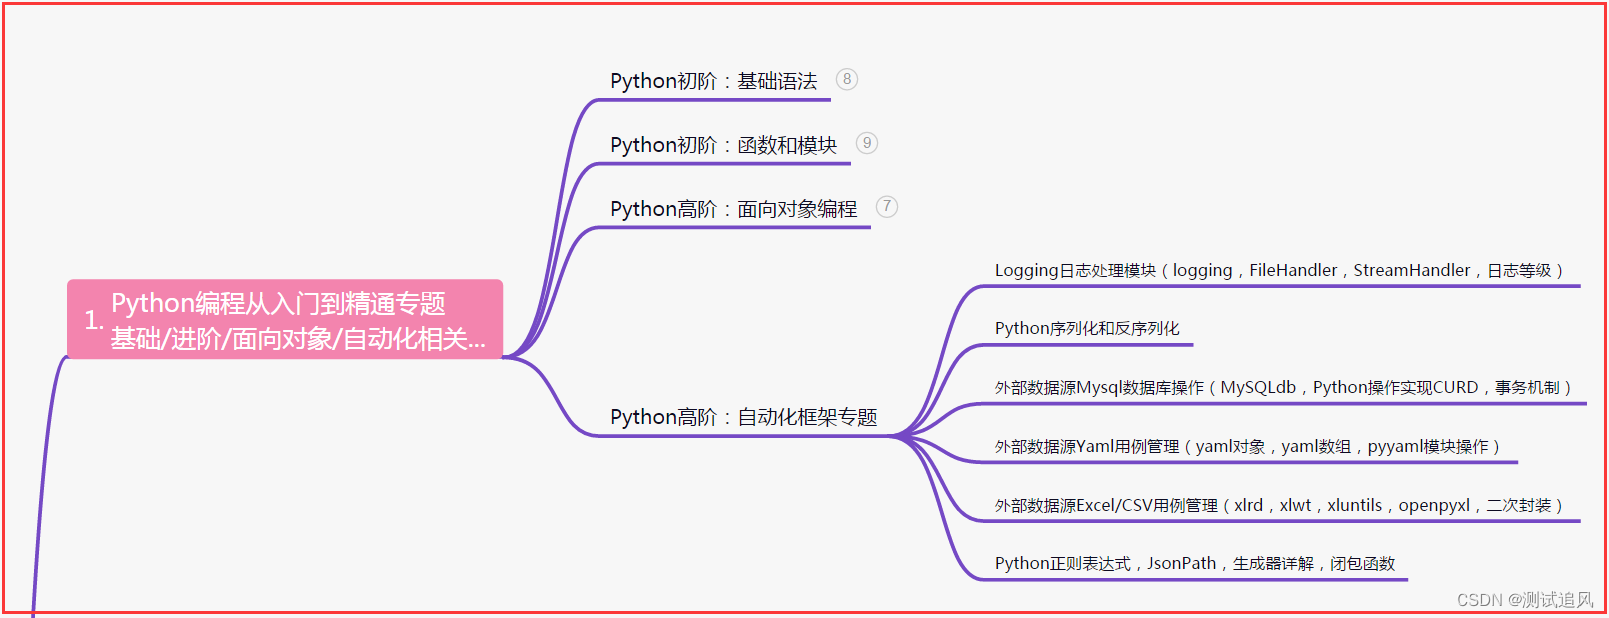
一、Python编程入门到精通
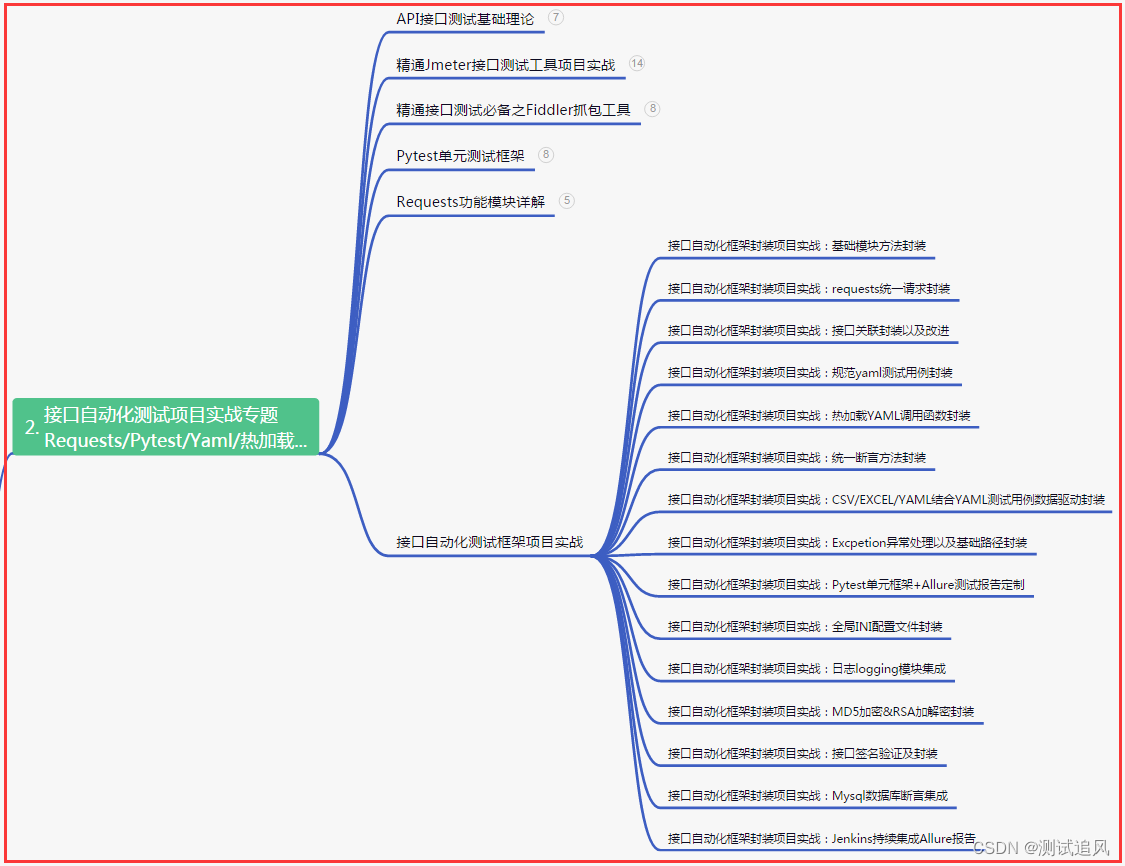
二、接口自动化项目实战
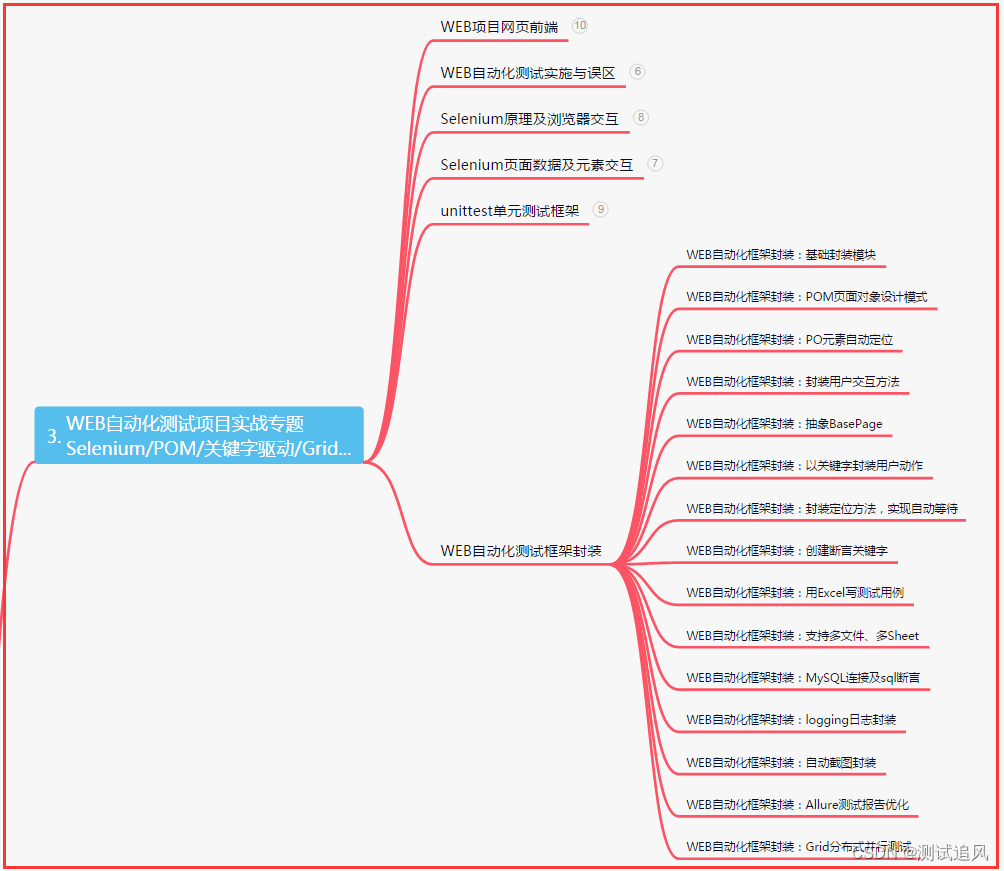
三、Web自动化项目实战
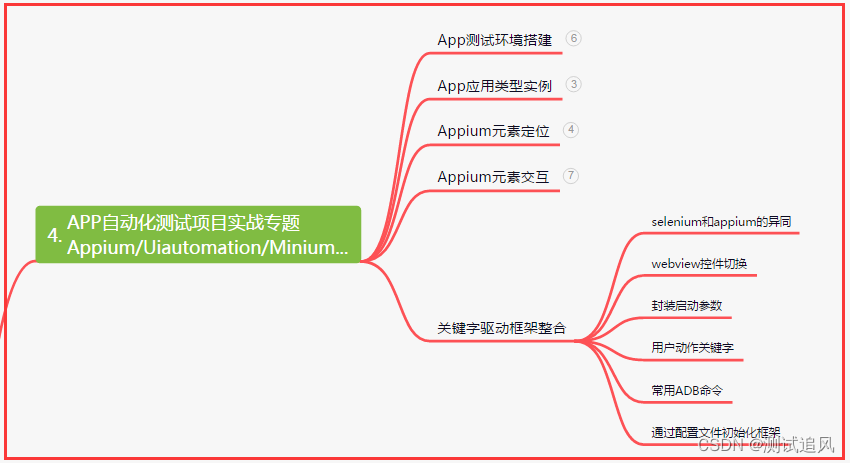
四、App自动化项目实战
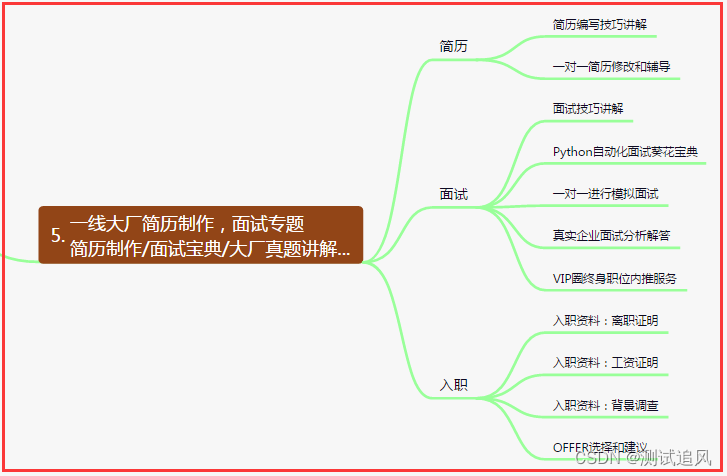
五、一线大厂简历
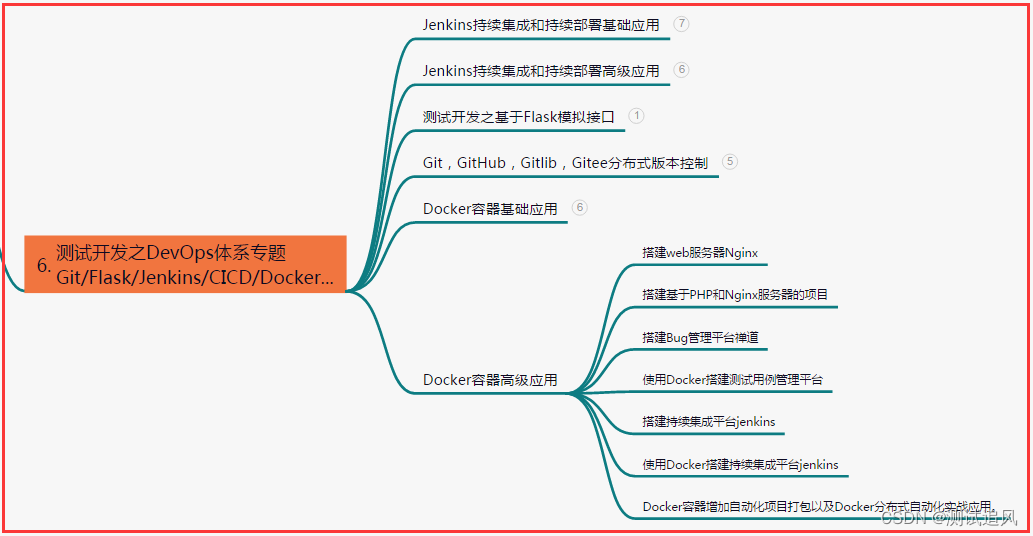
六、测试开发DevOps体系
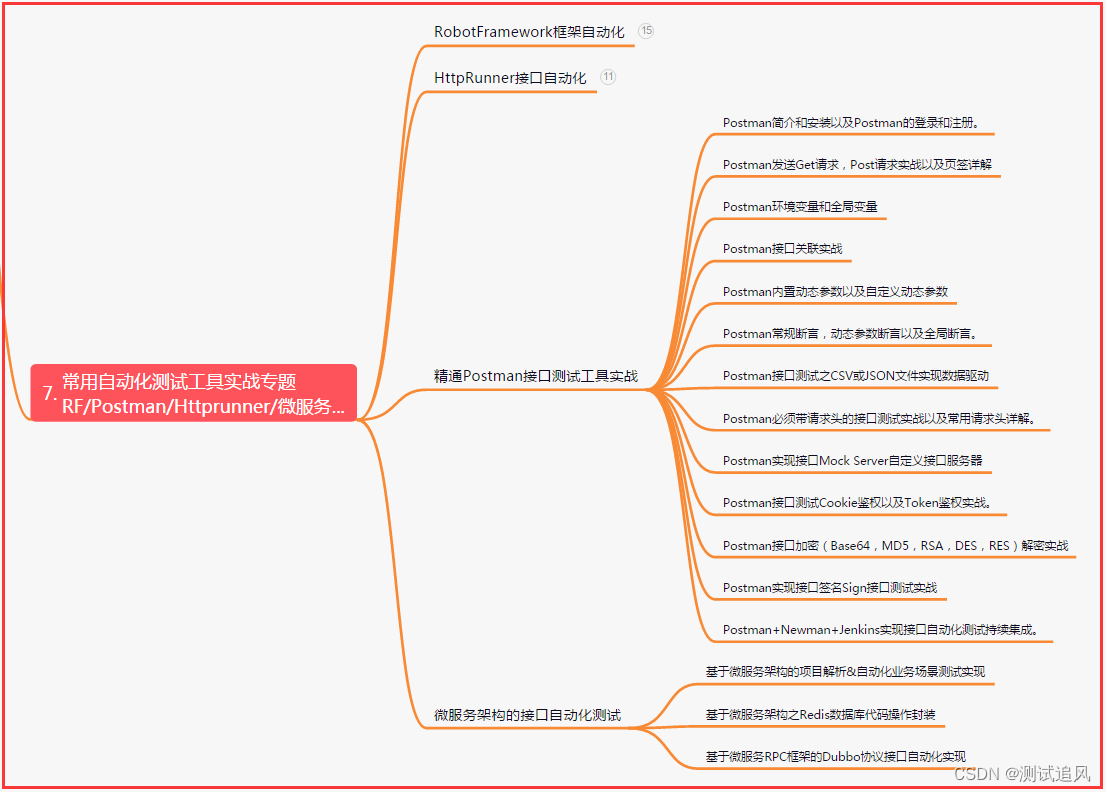
七、常用自动化测试工具
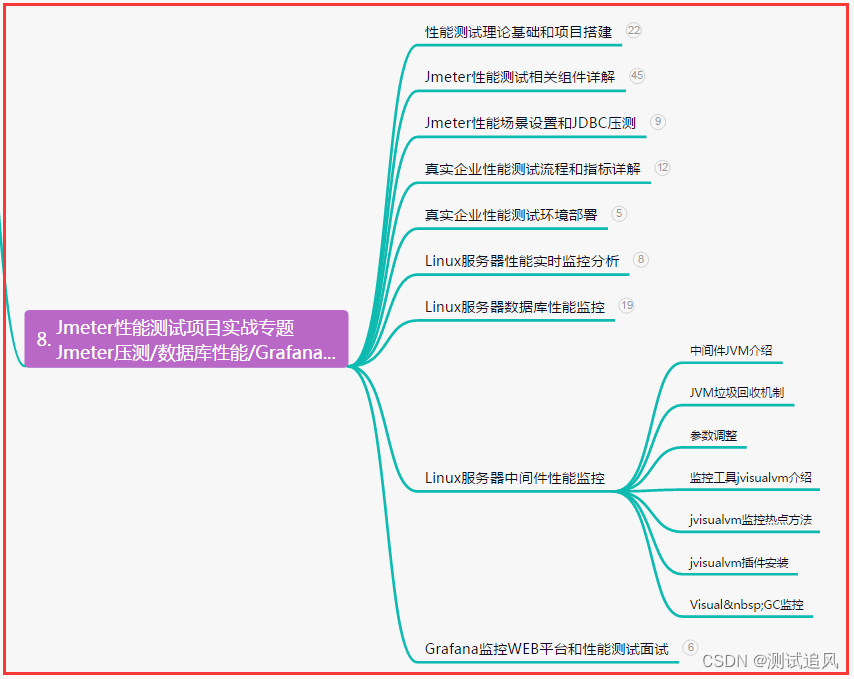
八、JMeter性能测试
九、总结(尾部小惊喜)
只要你愿意,每天都可以是新的开始;永远不要低估自己的潜力和能力,向着目标坚定前行;即使遇到挫折,也要保持勇气和信念,相信未来一定会更美好。
只有敢于承担,才能成就伟业;只有奋斗不息,才能收获胜利;只有坚持不懈,才能迎来辉煌。让我们一起勇往直前,不断超越自我,不停歇地追逐梦想,创造属于自己的精彩人生!
生命太短,时间太宝贵。每一刻都要珍惜,不留遗憾。只有勇敢奋斗,才能收获真正的幸福和成功。坚持自己的梦想,永不放弃,相信自己,你一定会成为更好的自己。让我们一起努力,迎接未来的挑战!