Linux下安装Mysql5.6,配置my.cnf并开启远程登录功能
在Mysq历史版本地址里找到自己需要的版本,
这里选择的是5.6.46,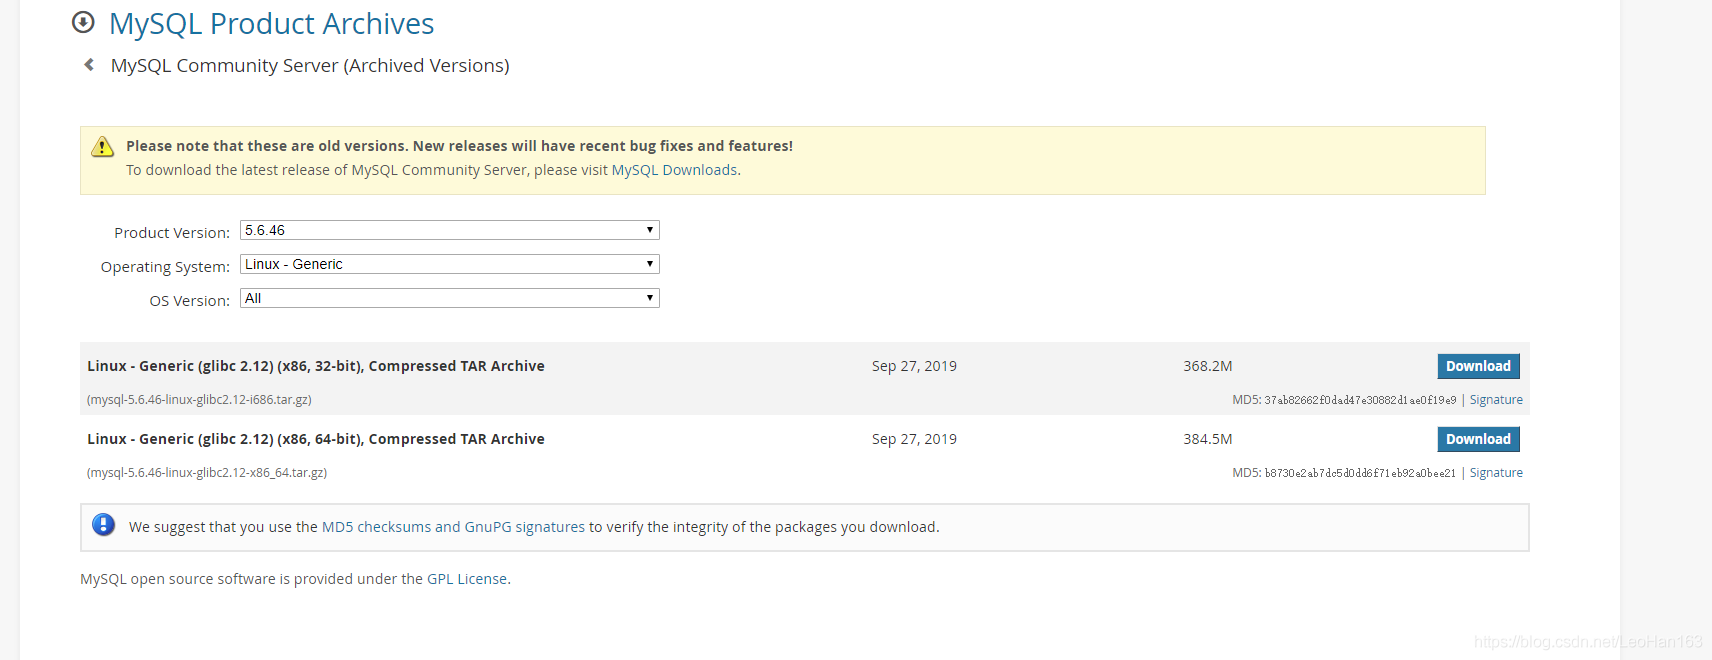
这里下载下来的实际上是已经为我们编译好了的最终文件,不用我们去进行任何的处理。
解压缩下载文件:
tar -xzvf mysql-5.6.46-linux-glibc2.12-x86_64.tar.gz
mv mysql-5.6.46-linux-glibc2.12-x86_64 mysql-5.6.46
接下来首先添加mysql用户
groupadd mysql
useradd -g mysql mysql
更改目录权限:
chown -R mysql:mysql /usr/local/mysql-5.6.46
编辑配置文件my.cnf:
cp /usr/local/mysql-5.6.46/support-files/my-default.cnf /etc/my.cnf
vim /etc/my.cnf
配置详情:
[client]
port            = 3306
socket          =/usr/local/mysql-5.6.46/mysql.sock
default-character-set=utf8
[mysqld]
port            = 3306
basedir=/usr/local/mysql-5.6.46
datadir=/usr/local/mysql-5.6.46/data
socket          = /usr/local/mysql-5.6.46/mysql.sock
skip-external-locking
key_buffer_size = 16M
max_allowed_packet = 1M
table_open_cache = 64
sort_buffer_size = 512K
net_buffer_length = 8K
read_buffer_size = 256K
read_rnd_buffer_size = 512K
myisam_sort_buffer_size = 8M
将Mysql加入系统环境变量:
vim /etc/profile
#在文件的末尾添加内容:
PATH=$PATH:/usr/local/mysql-5.6.46/bin
export PATH
初始化数据库:
scripts/mysql_install_db --user=mysql --datadir=/usr/local/mysql-5.6.46/data
将MySQL设置为系统服务并启动服务:
cp support-files/mysql.server /etc/init.d/mysqld
如果报错 "Starting MySQL. ERROR! The server quit without updating PID file (/data/mysql/rhelubuntu.com.pid). " 则修改
vim /etc/init.d/mysqld
修改basedir=/usr/local/mysql-5.6.46 -----mysql安装位置
修改datadir=/usr/local/mysql-5.6.46/data -----mysql数据文件存放位置
一般修改好这个再重新启动mysql应该不会报错了。
启动mysql:
/etc/init.d/mysqld start
停止mysql:
/etc/init.d/mysqld stop
检查MySQL是否已经启动:
netstat -tulnp | grep 3306
连接muysql:
mysql -u root -p
初始密码为空,直接回车,如果能登陆上,则安装成功。
设置mysql管理员密码
mysqladmin -u root password "123456";
则123456即为新密码。
设置mysql 远程登录
mysql -uroot -p123456
mysql> use mysql;
mysql>select host,user,password from user;
mysql> update user set password=password('123456') where user='root';
mysql> update user set host='%' where user='root' and host='localhost';
mysql> flush privileges;
连接成功。
权限相关问题:
首先查看当前用户:
mysql>  select current_user() from dual;
+----------------+
| current_user() |
+----------------+
| root@localhost |
+----------------+
1 row in set (0.00 sec)
查看当前用户已有权限:
mysql> show grants for root@'localhost';
+----------------------------------------------------------------------------------------------------------------------+
| Grants for root@localhost                                                                                            |
+----------------------------------------------------------------------------------------------------------------------+
| GRANT ALL PRIVILEGES ON *.* TO 'root'@'localhost' IDENTIFIED BY PASSWORD '*xxx' |
| GRANT PROXY ON ''@'' TO 'root'@'localhost' WITH GRANT OPTION                                                         |
+----------------------------------------------------------------------------------------------------------------------+
2 rows in set (0.00 sec)
‘root’@'localhost’没有WITH GRANT OPTION选,需要增加。
找到一个带有 WITH GRANT OPTION 权限的用户来进行赋权:
mysql> show grants for 'root'@'%';
+--------------------------------------------------------------------------------------------------------------------------------+
| Grants for root@%                                                                                                              |
+--------------------------------------------------------------------------------------------------------------------------------+
| GRANT ALL PRIVILEGES ON *.* TO 'root'@'%' IDENTIFIED BY PASSWORD '*xxxxxxxx' WITH GRANT OPTION |
+--------------------------------------------------------------------------------------------------------------------------------+
1 row in set (0.00 sec)
进行赋权:
GRANT ALL PRIVILEGES ON *.* TO 'root'@'%' identified by '123456' WITH GRANT OPTION