carla中lka实现(二)
前言:
首先计算之前检测出来的车道线的中线与输入图像的中线进行计算距离,,并设置不同的阈值对于不同的方向进行相关的调整。
一、车辆中心线
一般而言将摄像头架设在车辆的正中心轴上,所获得的图像的中间线极为车辆的中心。
def CalculateCurvature(binary_image, left_fit, right_fit, l_lane_inds, r_lane_inds):

    img_size = (binary_image.shape[1], binary_image.shape[0])
    ploty = np.linspace(0, img_size[1]-1, img_size[1])
    y_eval = np.max(ploty)

  # 找到图像中不为零的所有像素点的像素坐标
    nonzero = binary_image.nonzero()
    nonzeroy = np.array(nonzero[0])
    nonzerox = np.array(nonzero[1])
    # 将这些不为零的像素点坐标分成x,y车道线中
    leftx = nonzerox[l_lane_inds]
    lefty = nonzeroy[l_lane_inds]
    rightx = nonzerox[r_lane_inds]
    righty = nonzeroy[r_lane_inds]
    # 将这些像素点对应到世界坐标系中,然后拟合成二次曲线
    left_fit_cr = np.polyfit(lefty, leftx*xm_per_pix, 2)
    right_fit_cr = np.polyfit(righty, rightx*xm_per_pix, 2)

## 以下计算本车在车道线中心的位置
    dist_from_center = 0.0
    if right_fit is not None:
        if left_fit is not None:
            # 摄像头位于图像中间,也是本车的中心
            camera_pos = img_size[0] / 2
        # 左右车道线最底端x坐标
            left_lane_pix = np.polyval(left_fit, binary_image.shape[0])
            right_lane_pix = np.polyval(right_fit, binary_image.shape[0])
        # 左右车道线中点x坐标
            center_of_lane_pix = (left_lane_pix + right_lane_pix) / 2
        # 摄像头(本车中心)与车道线中心的距离
            dist_from_center = (camera_pos - center_of_lane_pix) * 3.7/960
    return dist_from_center
其中返回的dist_from_center是车辆中心线和车道线中心线之间的距离。
二、输出显示距离
在Carla中生成一辆车,并在车辆中心线位置生成一个相机,采集图像信息,首先在车辆中心线上生成一一条线,并显示出来。
直接取图像的size然后设置起点和终点,
使用函数cv2.line就可以,
results = cv2.line(results, start_point, end_point, line_color, thickness)这个是在图像正中间画上一条线。
然后再在识别出的车道线正中间画上一条线
之前写的函数lane_position会返回左边和右边的车道线的点,
取这两个点然后算平均值,
        lanes_pos = lane_position(img_histogram)
        l1 = lanes_pos[0][0]
        r1 = lanes_pos[1][0]
        p1 = int((l1 + r1) / 2)
        start_point1 = (p1, 0)
        end_point1 = (p1, int(height))
最后输出结果:
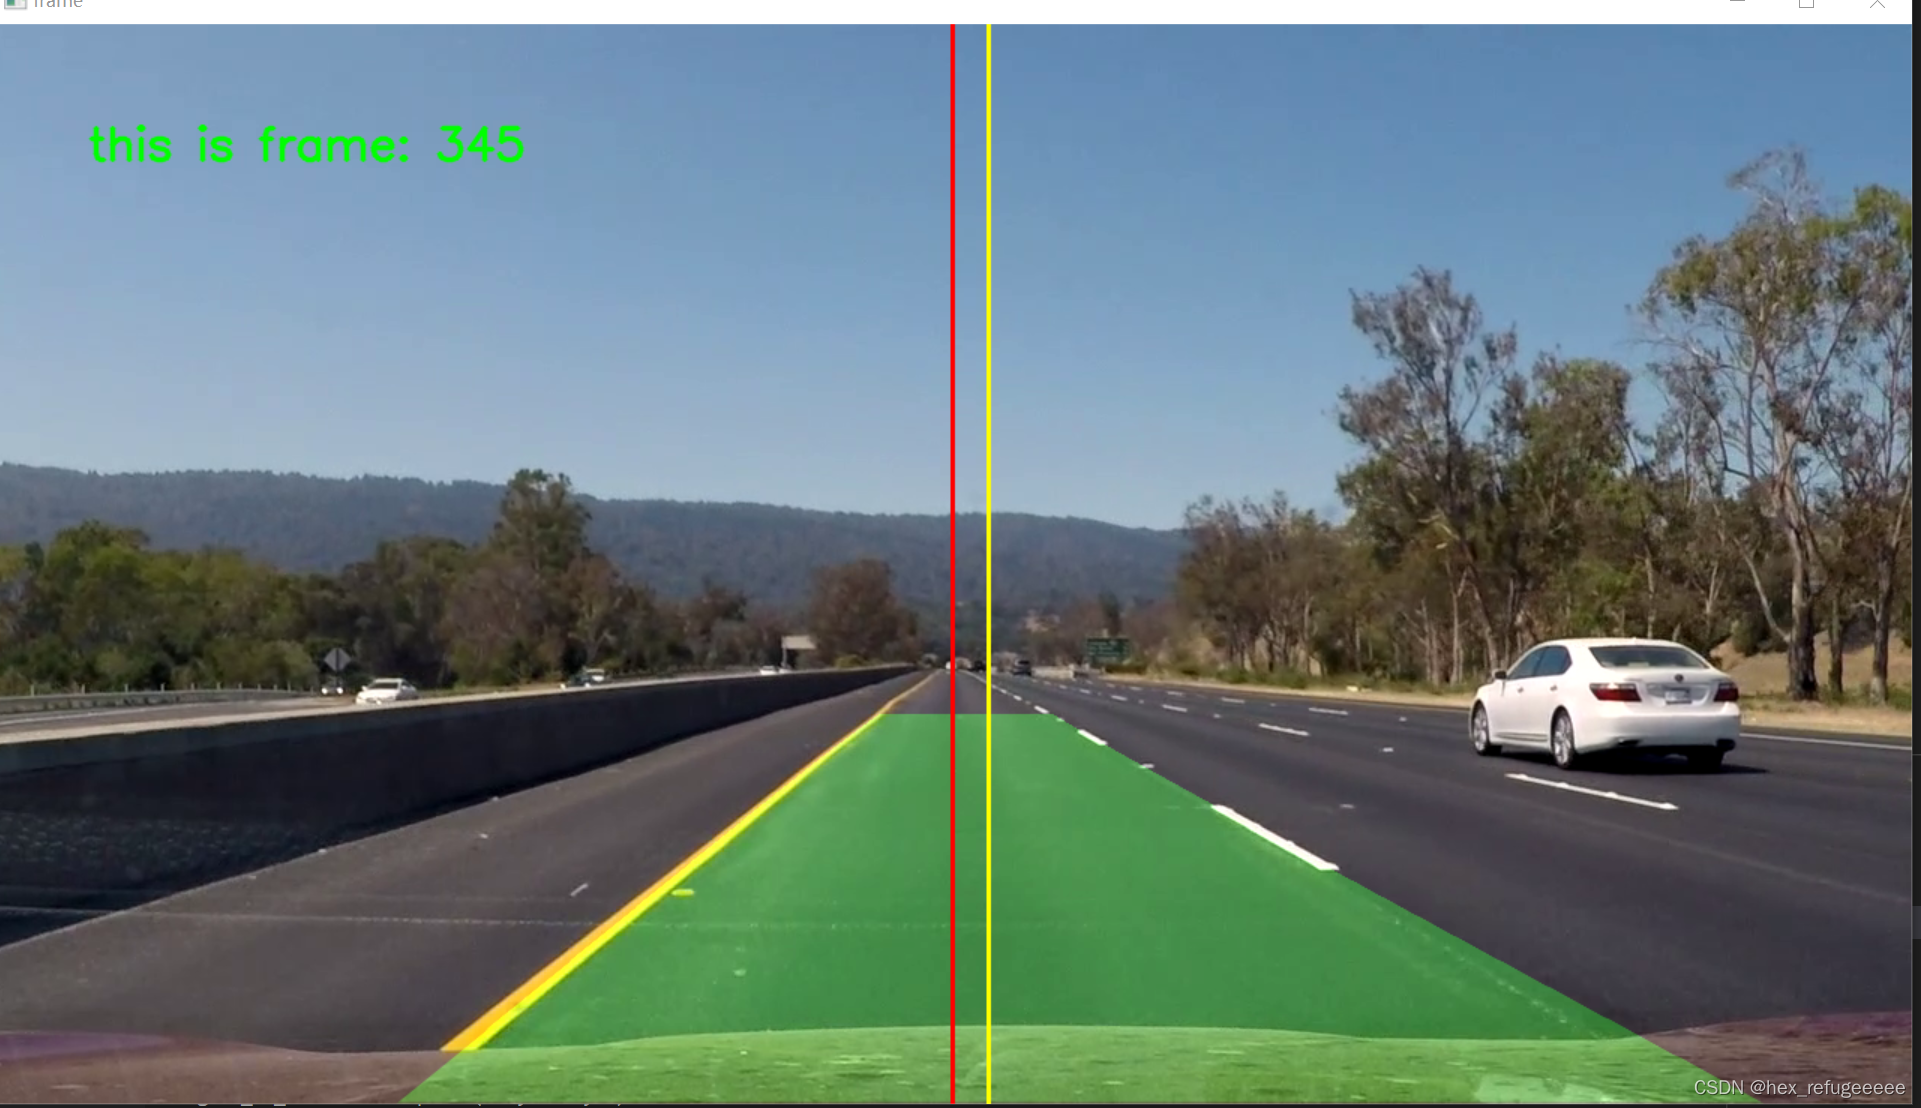
红线是图像的中心线,黄线是车道线的中心线。
之后的步骤就是直接用它们两个之间的距离来计算控制车辆左转和右转。
三、车辆控制
在Carla中生成一辆车,中心线上搭载相机,Carla中有两种相机可以选择,一种是普通的RGB相机,另外一种是直接有的语义分割相机,选择语义分割相机简单简单很多。
注意Carla中输出的是图像的格式是png格式,这会有一个问题,是它rgb通道会归一化,所以输出为0.8到1之间,大坑卡了我很久。
原始图像:
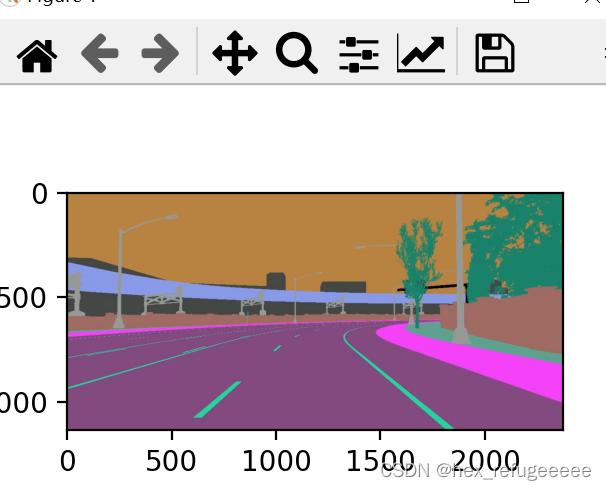
通过rgb图像旋转输出的图像:
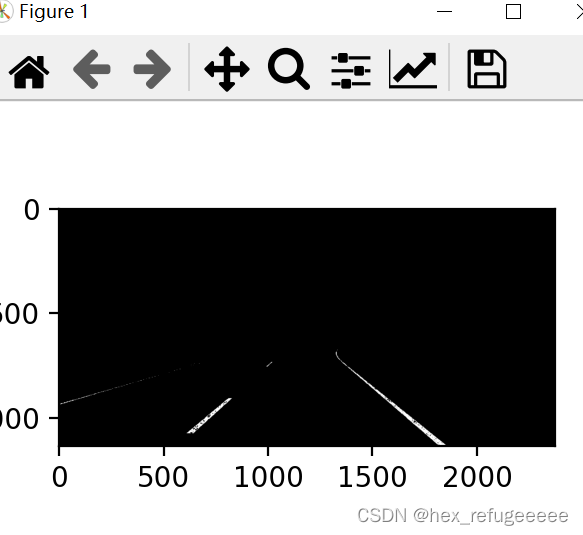
tmd,4通道图象第四列全部设置为1才行!卡我很久
最好直接把第4列去除,方便!
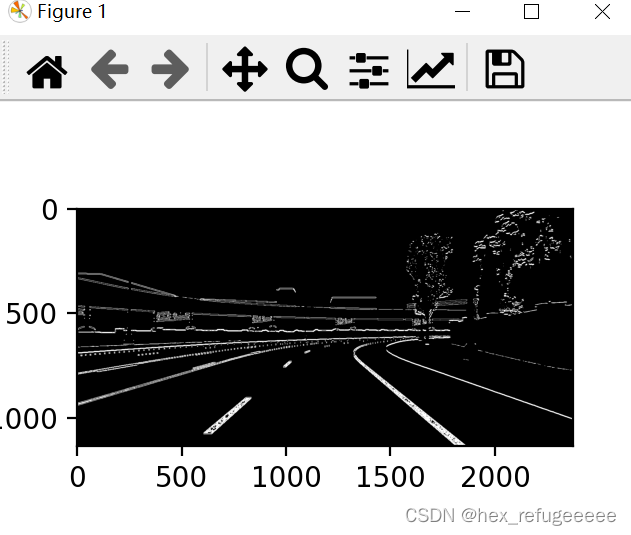
融合sobel和rgb信息后输出:
然后选择感兴趣的区域:
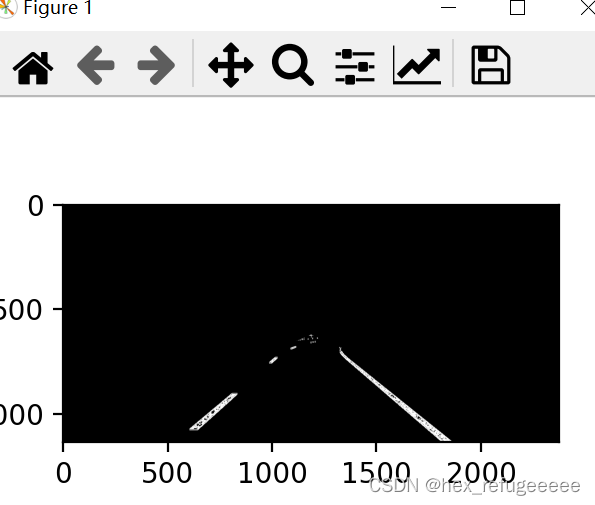
透视变换:
找到点为:
    top_left =[1000,700]
    top_right = [1374,700]
    bottom_left = [330,1100]
    bottom_right =  [2000,1100]
    # give 4 points to project.
    proj_top_left = [200,100]
    proj_top_right = [2200,100]
    proj_bottom_left  =  [200,1100]
    proj_bottom_right =  [2200,1100]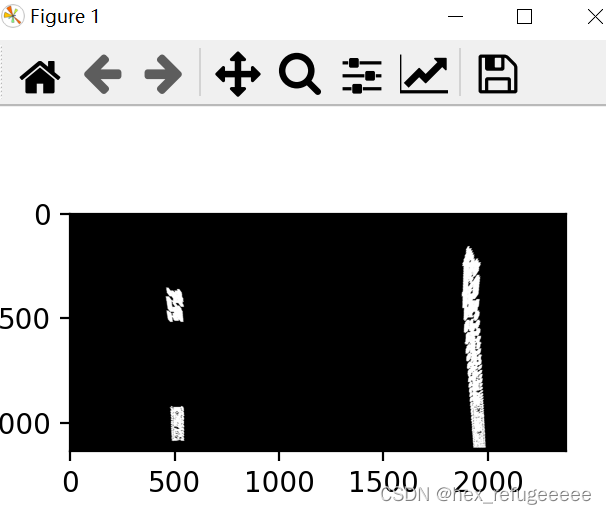
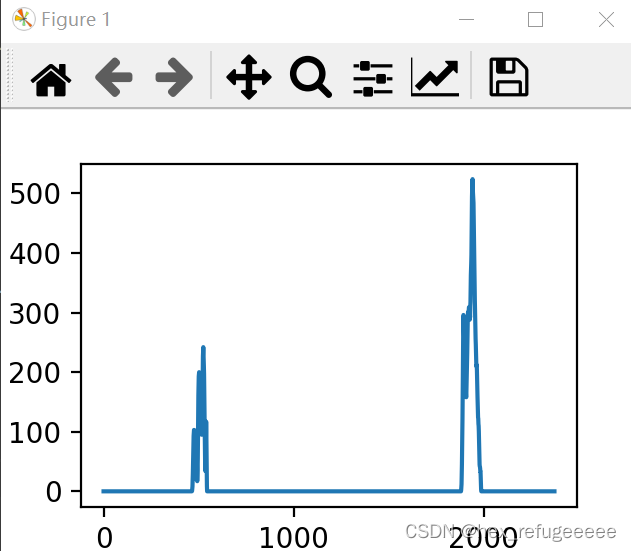
直方图输出:
滑动窗口输出: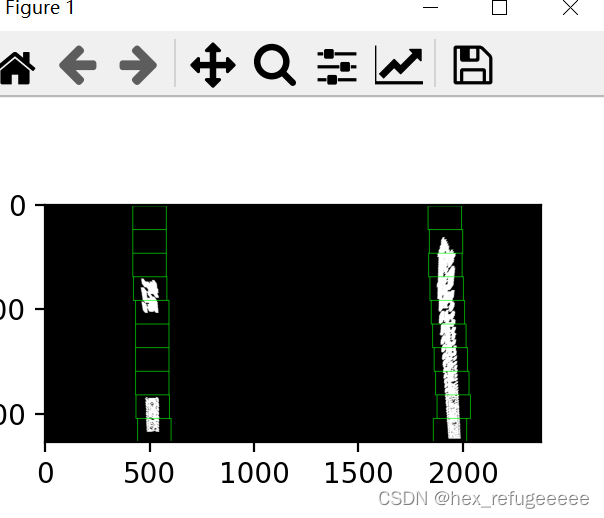
曲线拟合: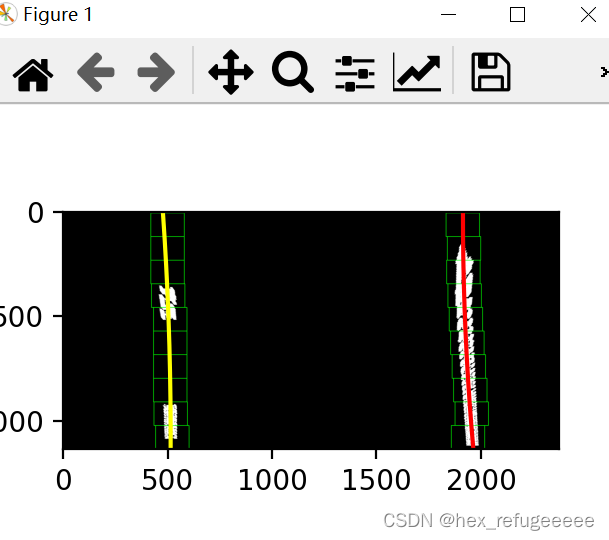
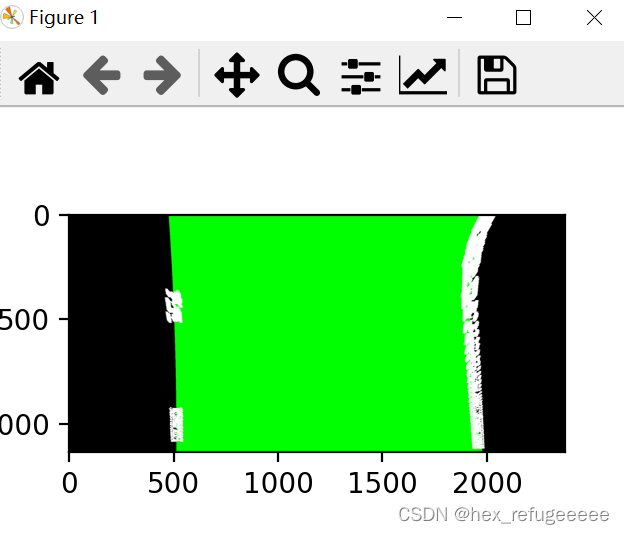
添加图层蒙版:
未完待续。。。