Django 8 通用视图基础
1. 什么是通用视图
1. 在terminal 输入 django-admin startapp the_12回车
2. tutorial\settings.py 注册
INSTALLED_APPS = [
    'django.contrib.admin',
    'django.contrib.auth',
    'django.contrib.contenttypes',
    'django.contrib.sessions',
    'django.contrib.messages',
    'django.contrib.staticfiles',
    "the_3",
    "the_5",
    "the_6",
    "the_7",
    "the_8",
    "the_9",
    "the_10",
    "the_12",
]
3. tutorial\urls.py
urlpatterns = [
    path('admin/', admin.site.urls),
    path('the_3/', include('the_3.urls')),
    path('the_4/', include('the_4.urls')),
    path('the_5/', include('the_5.urls')),
    path('the_7/', include('the_7.urls')),
    path('the_10/', include('the_10.urls')),
    path('the_12/', include('the_12.urls')),
]
4. the_12\views.py
from django.http import JsonResponse
from django.shortcuts import render
from django.views import View

# Create your views here.

class Chello(View):
    def get(self,request):
        return JsonResponse({"python": '这是一个get方法'})

    def post(self,request):
        return JsonResponse({"python": '这是一个post方法'})
5. the_12\urls.py
from django.urls import path
from .views import Chello

urlpatterns = [
    path('index/', Chello.as_view()),
]
6. 运行tutorial, 点击http://127.0.0.1:8000/,地址栏 127.0.0.1:8000/the_12/index/ 刷新

7. 回到the_12\urls.py, 看as_view的源码(ctrl + 点鼠标左键)
2.使用通用视图的tips
- 提供了什么功能
- 数据从哪里来
- 提供了哪些模板变量
- 渲染的模板页
3.ListView 的使用
- 如何自定义获取到的列表对象的名字
- 如何确定渲染的模板名字
- 如何分页展示
1. the_12\models.py
from django.db import models

# Create your models here.

class SomeThing(models.Model):
    msg = models.CharField(max_length=200)
    is_delete = models.BooleanField()
2. 迁移, terminal 输入 python .\manage.py makemigrations回车
Migrations for 'the_12':
the_12\migrations\0001_initial.py
- Create model SomeThing
3. terminal 输入 python .\manage.py migrate回车
Operations to perform:
Apply all migrations: admin, auth, contenttypes, sessions, the_10, the_12, the_6, the_8, the_9
Running migrations:
Applying the_12.0001_initial... OK
4. the_12\admin.py
from django.contrib import admin
from the_12.models import SomeThing

# Register your models here.

admin.site.register(SomeThing)
5. 浏览器 http://127.0.0.1:8000/admin在SomeThing添加5条数据
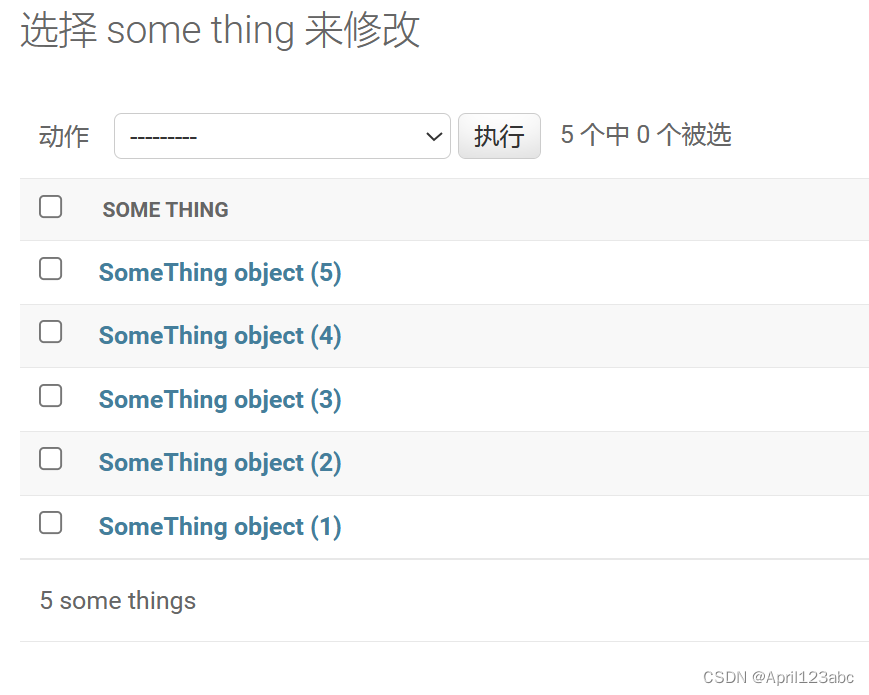
6. the_12\views.py 添加以下代码
class MyListView(ListView):
    pass
7. the_12\urls.py
from django.urls import path
from .views import Chello,MyListView

urlpatterns = [
    path('index/', Chello.as_view()),
    # path 的第二个参数应该是一个函数,as_view就是把Chello这个类变成函数
    path('mylist/', MyListView.as_view()),
]
8. 浏览器 ImproperlyConfigured at /the_12/mylist/

9. the_12\views.py
from django.http import JsonResponse
from django.shortcuts import render
from django.views import View
from django.views.generic import ListView
from .models import SomeThing

# Create your views here.

class Chello(View):
    def get(self,request):
        return JsonResponse({"python": '这是一个get方法'})

    def post(self,request):
        return JsonResponse({"python": '这是一个post方法'})

class MyListView(ListView):
    model = SomeThing
10. 刷新网页

11. 在templates创建the_12文件夹,再在新创建的the_12文件夹内创建一个something_list。html
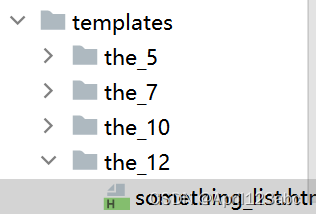
<!DOCTYPE html>
<html lang="en">
<head>
    <meta charset="UTF-8">
    <title>Title</title>
</head>
<body>
    <h1>这是something_list的页面</h1>
</body>
</html>
12. 刷新网页

13. templates\the_12\something_list.html
<!DOCTYPE html>
<html lang="en">
<head>
    <meta charset="UTF-8">
    <title>Title</title>
</head>
<body>
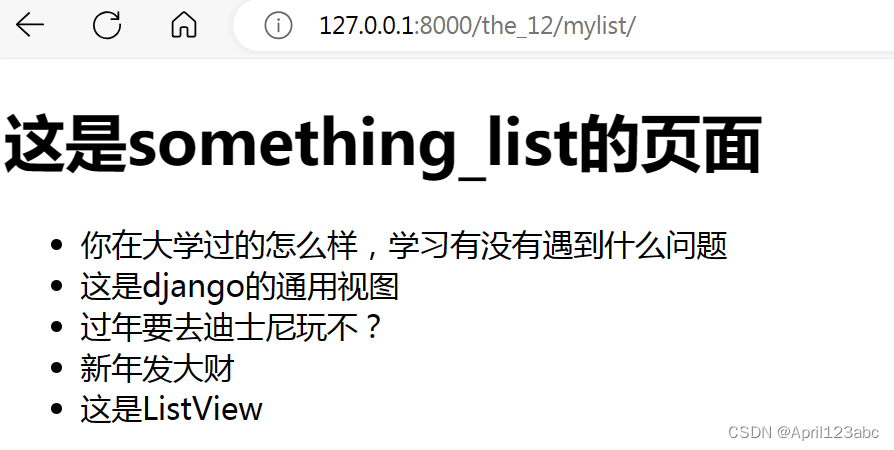
    <h1>这是something_list的页面</h1>
    <ul>
        {% for i in object_list %}
        <li>{{ i.msg }}</li>
        {% endfor %}
    </ul>
</body>
</html>
14. 刷新网页
15. 总结
"""
提供了什么功能
    以列表的形式展示数据的功能
数据从哪里来
    数据从数据库中查询得来的
    model
    queryset
    get_queryset
提供了哪些模板变量
    object_list
    自定义 : context_object_name
    something_list
渲染的模板页
    默认
    模型名的小写_list.html
    自定义:template_name
"""
the_12\views.py
from django.http import JsonResponse
from django.shortcuts import render
from django.views import View
from django.views.generic import ListView
from .models import SomeThing

# Create your views here.

class Chello(View):
    def get(self,request):
        return JsonResponse({"python": '这是一个get方法'})

    def post(self,request):
        return JsonResponse({"python": '这是一个post方法'})

class MyListView(ListView):
    # model = SomeThing
    # queryset = SomeThing.objects.all()
    def get_queryset(self):
        queryset = SomeThing.objects.filter(is_delete=0)
        return queryset

    context_object_name = 'panda'
    template_name = 'the_12/huahua.html'
templates\the_12\something_list.html
<!DOCTYPE html>
<html lang="en">
<head>
    <meta charset="UTF-8">
    <title>Title</title>
</head>
<body>
    <h1>这是something_list的页面</h1>
    <ul>
        {% for i in object_list %}
        <li>{{ i.msg }}</li>
        {% endfor %}
    </ul>
</body>
</html>
templates\the_12\huahua.html
<!DOCTYPE html>
<html lang="en">
<head>
    <meta charset="UTF-8">
    <title>Title</title>
</head>
<body>
    <h1>这是huahua的页面</h1>
    <ul>
        {% for i in object_list %}
        <li>{{ i.msg }}</li>
        {% endfor %}
    </ul>
</body>
</html>
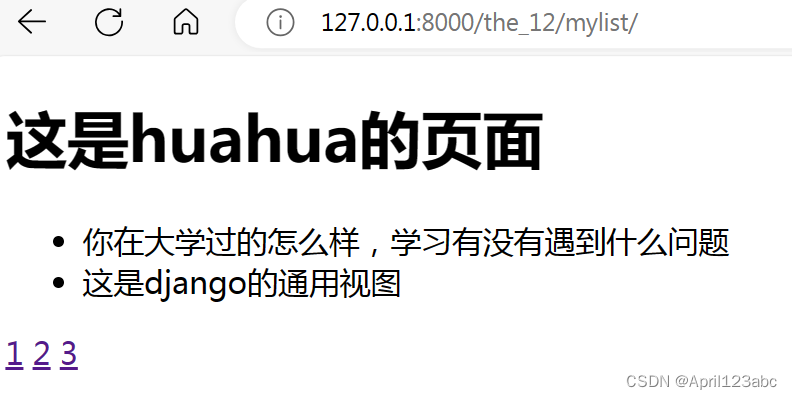
16. 分页操作 , the_12\views.py
class MyListView(ListView):
    paginate_by = 2
templates\the_12\huahua.html
<!DOCTYPE html>
<html lang="en">
<head>
    <meta charset="UTF-8">
    <title>Title</title>
</head>
<body>
    <h1>这是huahua的页面</h1>
    <ul>
        {% for i in object_list %}
        <li>{{ i.msg }}</li>
        {% endfor %}
    </ul>
    {% for page in paginator %}
        <a href="">{{ page.number }}</a>
    {% endfor %}
</body>
</html>
刷新网页
17. the_12\urls.py, 做以下更改
path('mylist/', MyListView.as_view(),name='something')
18. templates\the_12\huahua.html
{% for page in paginator %}
        <a href="{% url 'something' %}">{{ page.number }}</a>
    {% endfor %}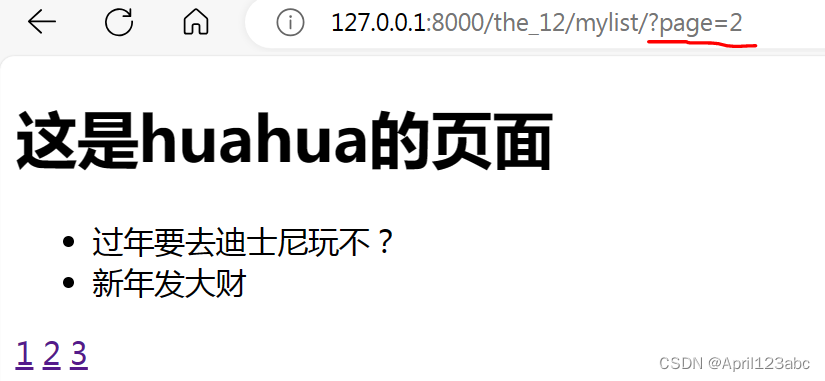
相当于 templates\the_12\huahua.html
{% for page in paginator %}
    <a href="{% url 'something' %}?page={{ page.number }}">{{ page.number }}</a>
{% endfor %}
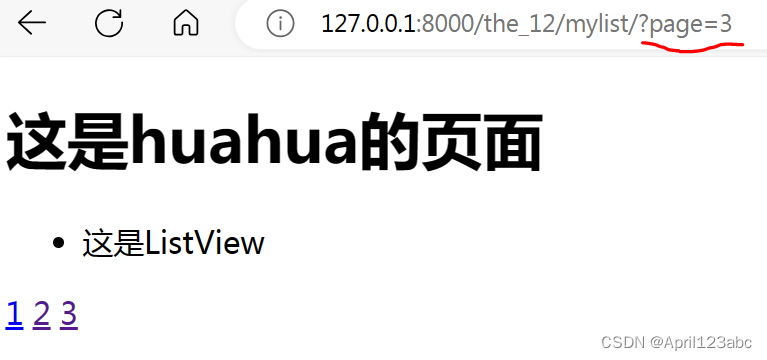
19. 源码分析
class MyListView(ListView):
class ListView(MultipleObjectTemplateResponseMixin, BaseListView):
class MultipleObjectTemplateResponseMixin(TemplateResponseMixin):
the_12/something_list.html
自定义了模板名,供程序使用
class TemplateResponseMixin:
主要的作用是找到模板的名字,然后渲染上下文数据
class BaseListView(MultipleObjectMixin, View):
重写了get方法
class MultipleObjectMixin(ContextMixin):
        queryset = None
        model = None
        paginate_by = None
        paginate_orphans = 0
        context_object_name = None