Centos7脚本安装mysql
1 创建shell脚本
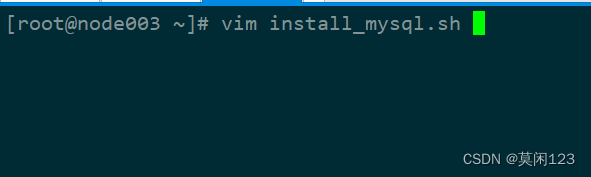
1.1 脚本名字Install_mysql.sh
vim install_mysql.sh
1.2 写入脚本内容
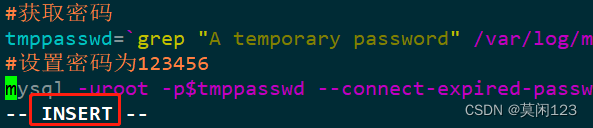
1.2.1 按字母i进入编辑模式
1.2.2 脚本内容
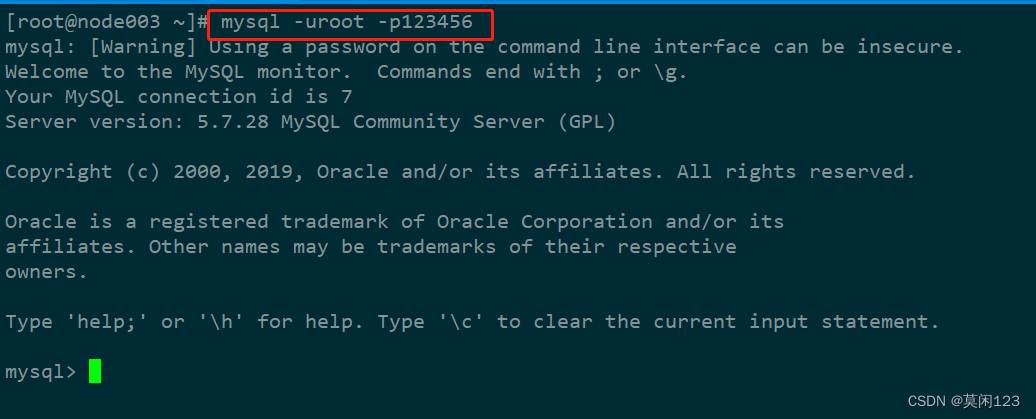
数据库密码为123456
mysql配置修改为可远程连接
#!/usr/bin/sh
echo -e "\033[35m ------------------安装mysql-------------------- \033[0m"
#查看有没有
rpm -aq| grep mariadb
#卸载
rpm -e --nodeps mariadb-libs-5.5.60-1.el7_5.x86_64

#创建mysql目录
mkdir -p /opt/mysql-5.7.28

#进入mysql安装目录
cd /opt/mysql-5.7.28

#安装wget,安装过的也无所谓
yum install -y wget

#通过wget下载
wget https://cdn.mysql.com/archives/mysql-5.7/mysql-5.7.28-1.el7.x86_64.rpm-bundle.tar

#解压下载的tar包
tar -xvf mysql-5.7.28-1.el7.x86_64.rpm-bundle.tar

# 安装
rpm -ivh mysql-community-common-5.7.28-1.el7.x86_64.rpm
rpm -ivh mysql-community-libs-5.7.28-1.el7.x86_64.rpm
rpm -ivh mysql-community-client-5.7.28-1.el7.x86_64.rpm
rpm -ivh mysql-community-server-5.7.28-1.el7.x86_64.rpm  --force --nodeps

# 启动mysql
systemctl start mysqld
#systemctl enable mysqld

#获取密码
tmppasswd=`grep "A temporary password" /var/log/mysqld.log | cut -d':' -f4|sed 's/^[ \t]*//g'`
#设置密码为123456
mysql -uroot -p$tmppasswd --connect-expired-password<<EOF
set global validate_password_policy=low;
set global validate_password_length=6;
alter user root@localhost identified by '123456';

use mysql;
update user set host='%' where user='root';
select host,user from user;
commit;
quit
EOF

# 重启mysql服务
systemctl restart mysqld


#删除mysql解压的文件
rm -rvf /opt/mysql-5.7.28/*.rpm
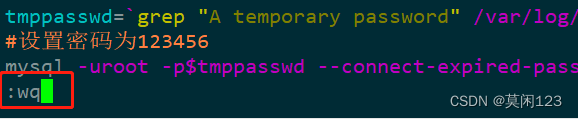
1.2.3 保存退出脚本
按esc输入:wq 保存退出脚本
2 运行脚本
2.1 运行方式
sh install_mysql.sh

2.2 运行效果


2.3 测试