C#在Winform中使用Spire.OCR进行图片文字识别
第一步,导入Spire.OCR包
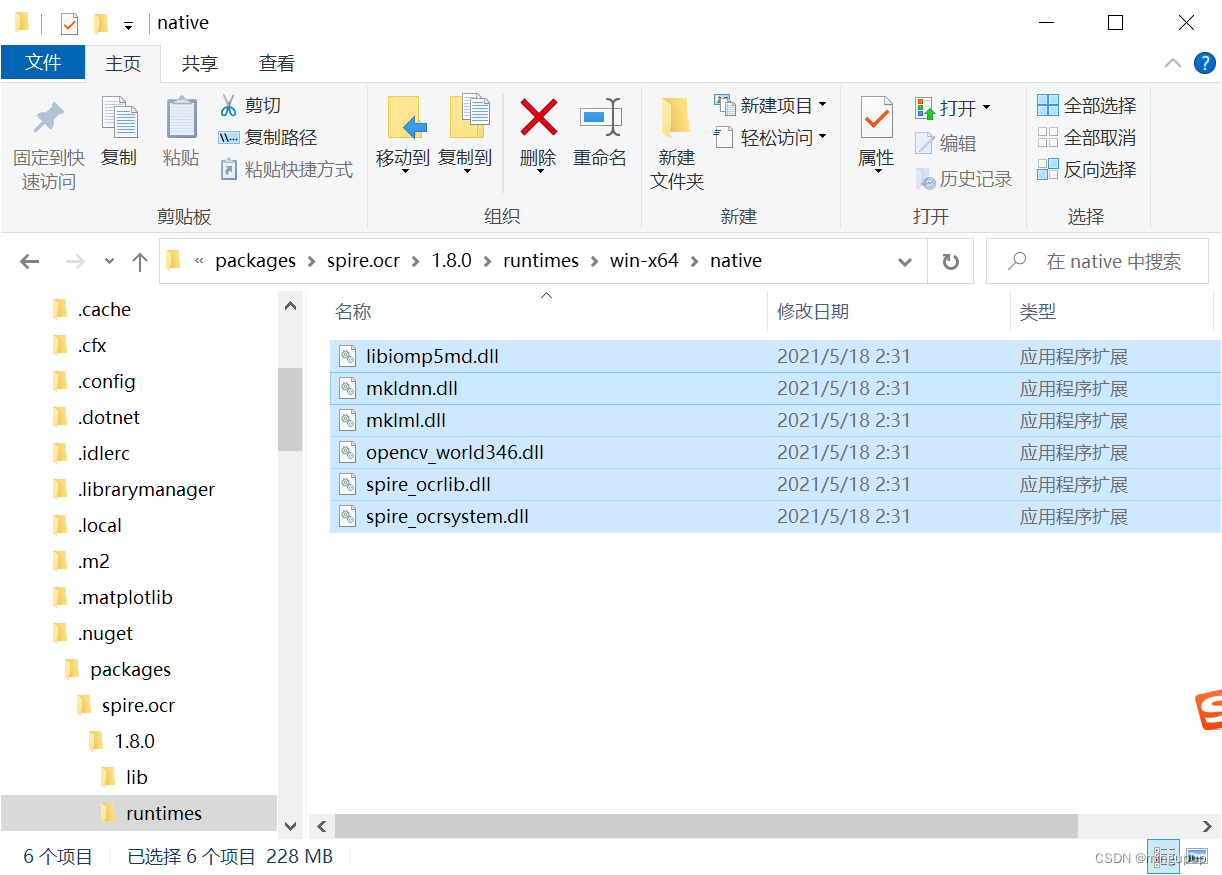
使用Nuget安装Spire.OCR的包
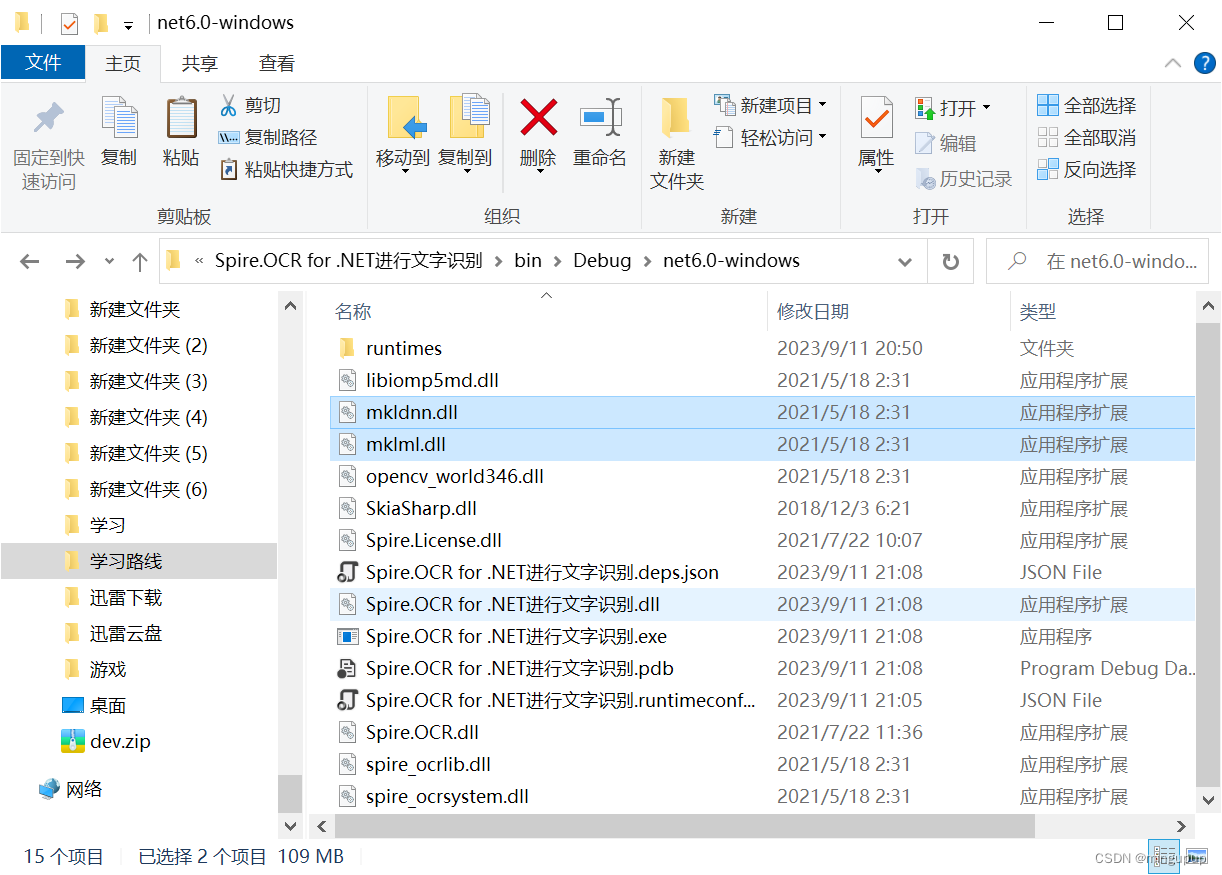
 将包中dll复制到项目文件夹>bin>Debug目录下
需要复制到的位置
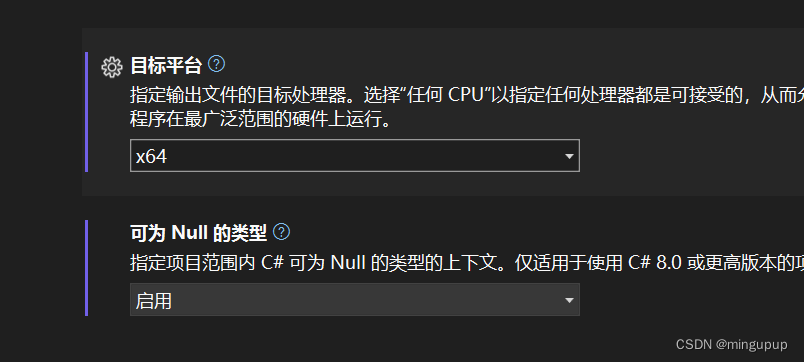
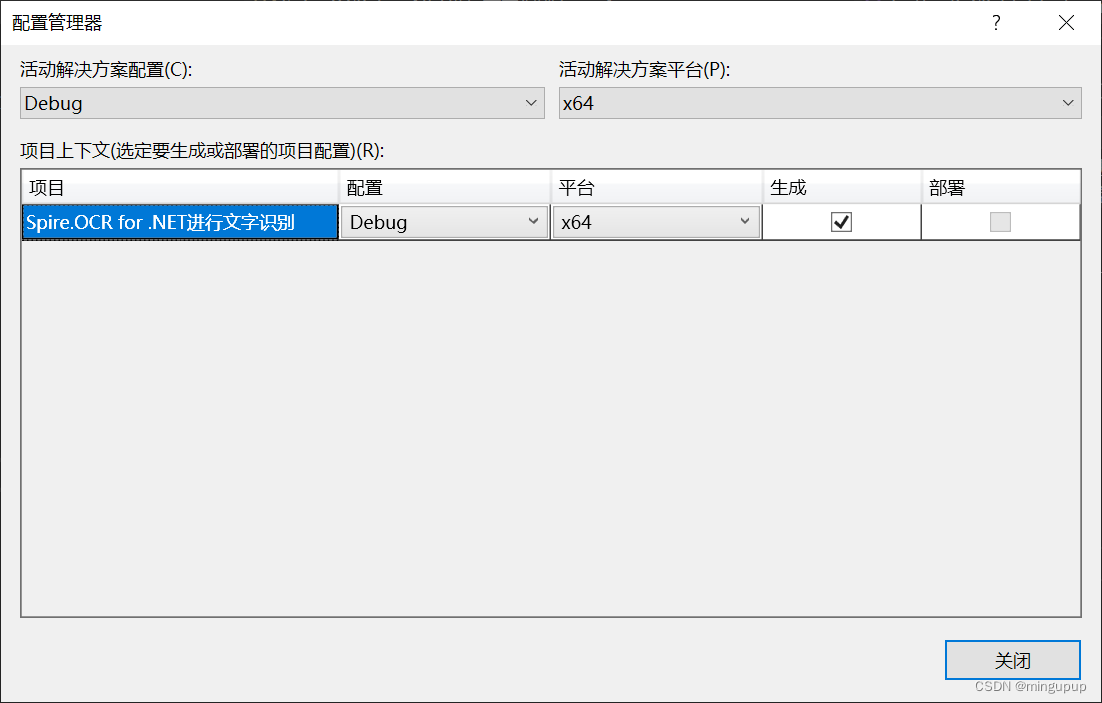
将目标平台设置为X64
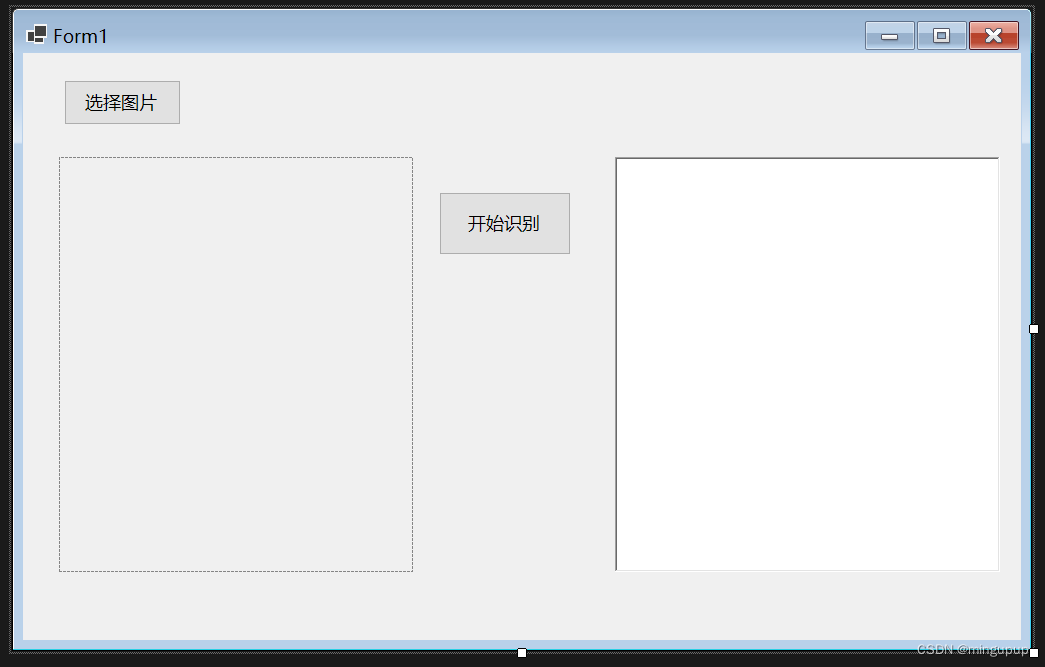
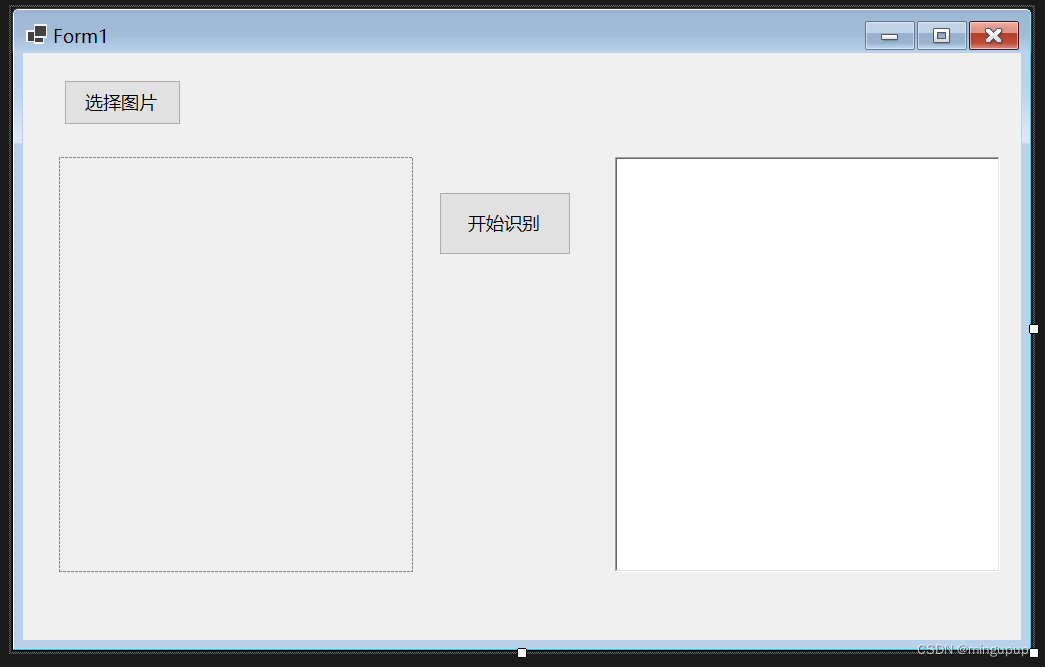
第二步,为说明Spire.OCR的识别效果添加几个常用的控件
添加了两个按钮控件,一个pictureBox控件和一个richTextBox控件
第三步,开始使用Spire.OCR进行图片文字识别
//选取图片按钮的代码
private void button1_Click(object sender, EventArgs e)
{
OpenFileDialog openFileDialog = new OpenFileDialog();
openFileDialog.Filter = "JPEG Files (*.jpg)|*.jpg";
openFileDialog.FilterIndex = 1;
openFileDialog.Multiselect = false;
if (openFileDialog.ShowDialog() == DialogResult.OK)
{
selectedPicture = openFileDialog.FileName;
MessageBox.Show($"您选中的图片路径为:{selectedPicture}");
// 使用Image类加载图片
Image image = Image.FromFile(selectedPicture);
// 将图片显示在PictureBox中
pictureBox1.Image = image;
}
else
{
MessageBox.Show("您本次没有选择任何图片!!!");
}
} //开始识别按钮的代码
private void button2_Click(object sender, EventArgs e)
{
//创建扫描器
OcrScanner scanner = new OcrScanner();
//开始扫描
scanner.Scan(selectedPicture);
//输出结果
string result = scanner.Text.ToString();
richTextBox1.Text = result;
}查看图片识别结果
软件运行初始界面
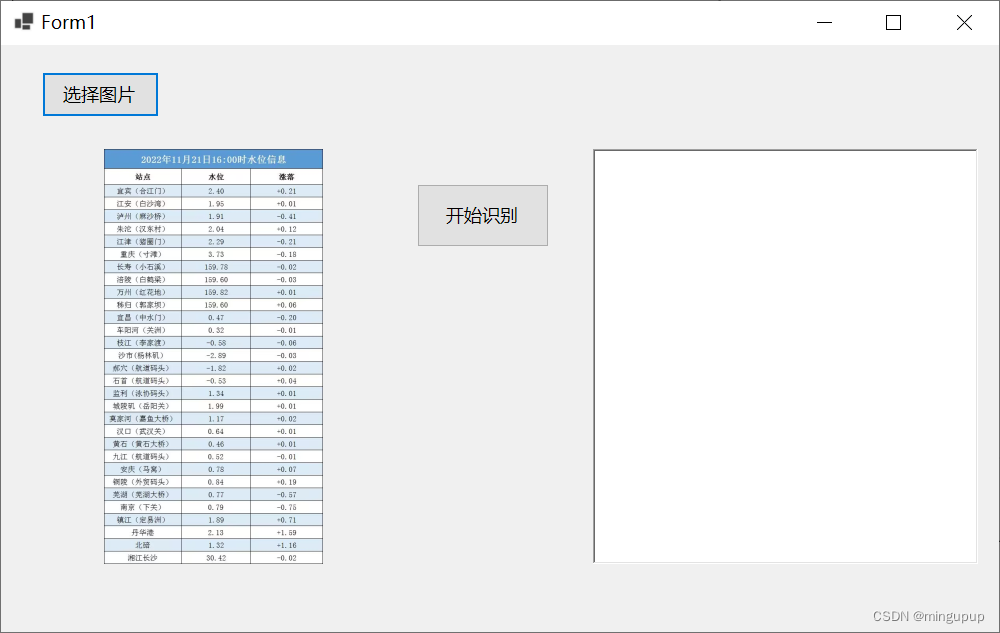
选择一张图片
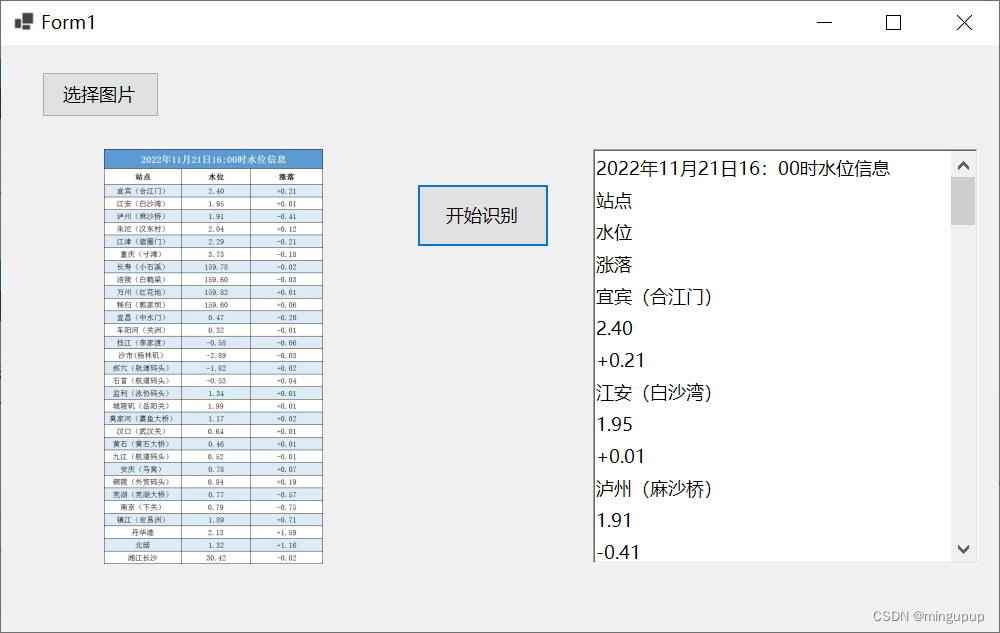
点击开始识别,查看识别结果
使用Spire.OCR的缺点
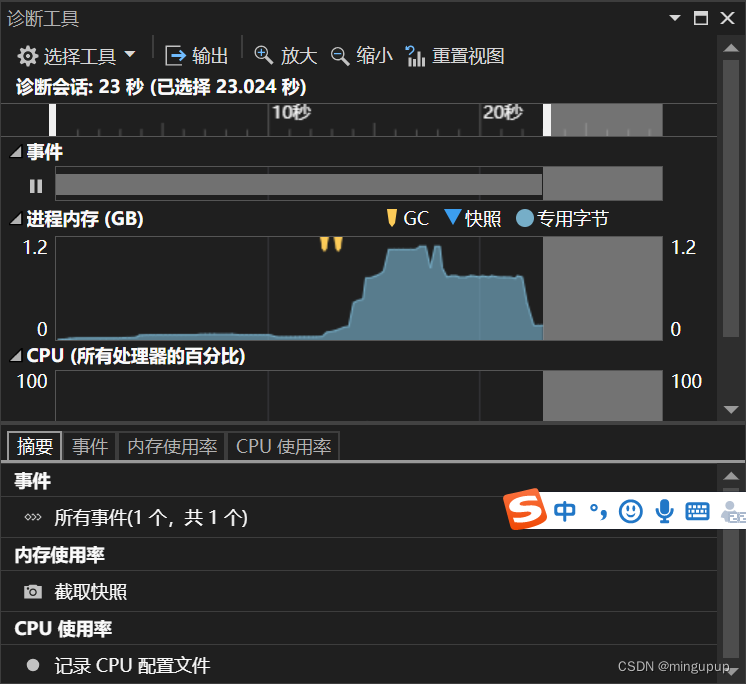
一、内存占用过高
仅仅只是识别一张图片,内存最高就占用到了1.2G,而且识别一张图片也需要好几秒的时间
二、在识别结果末尾会自动添加一句话
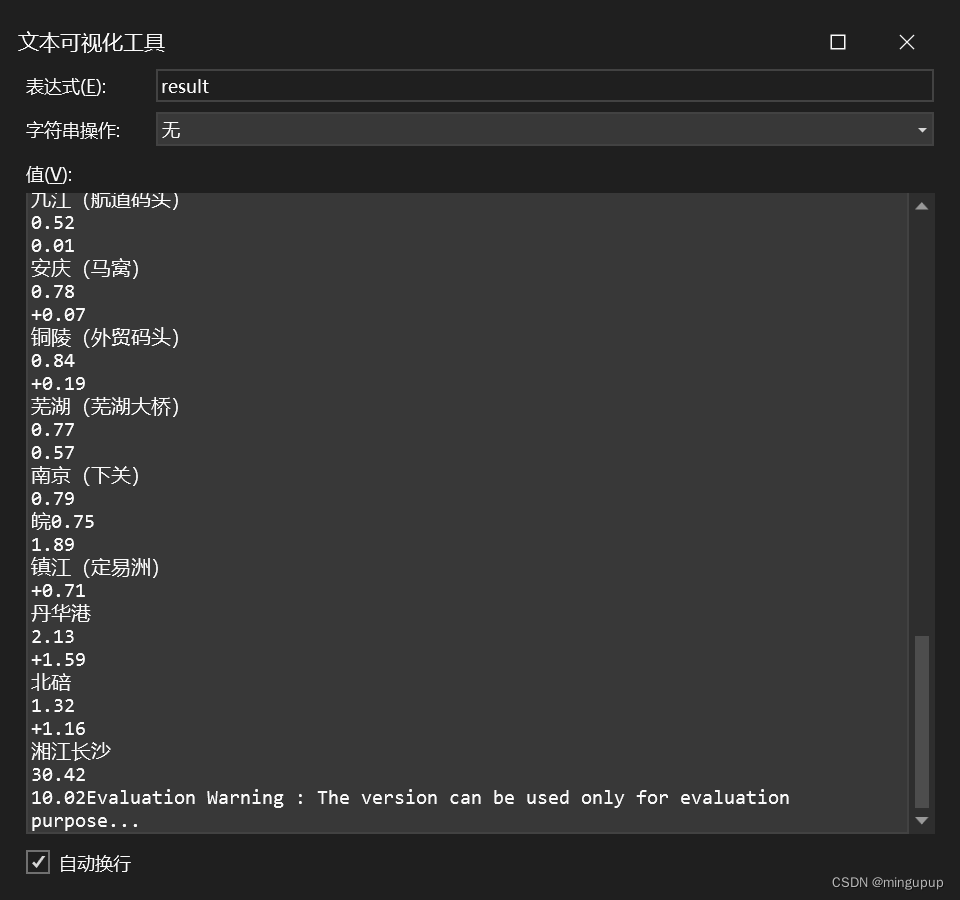
可以通过对字符串的处理去掉自动添加的那句话
            //替换掉最后一句话
            string result2 = result.Replace("Evaluation Warning : The version can be used only for evaluation purpose...", "");
            richTextBox1.Text = result2;
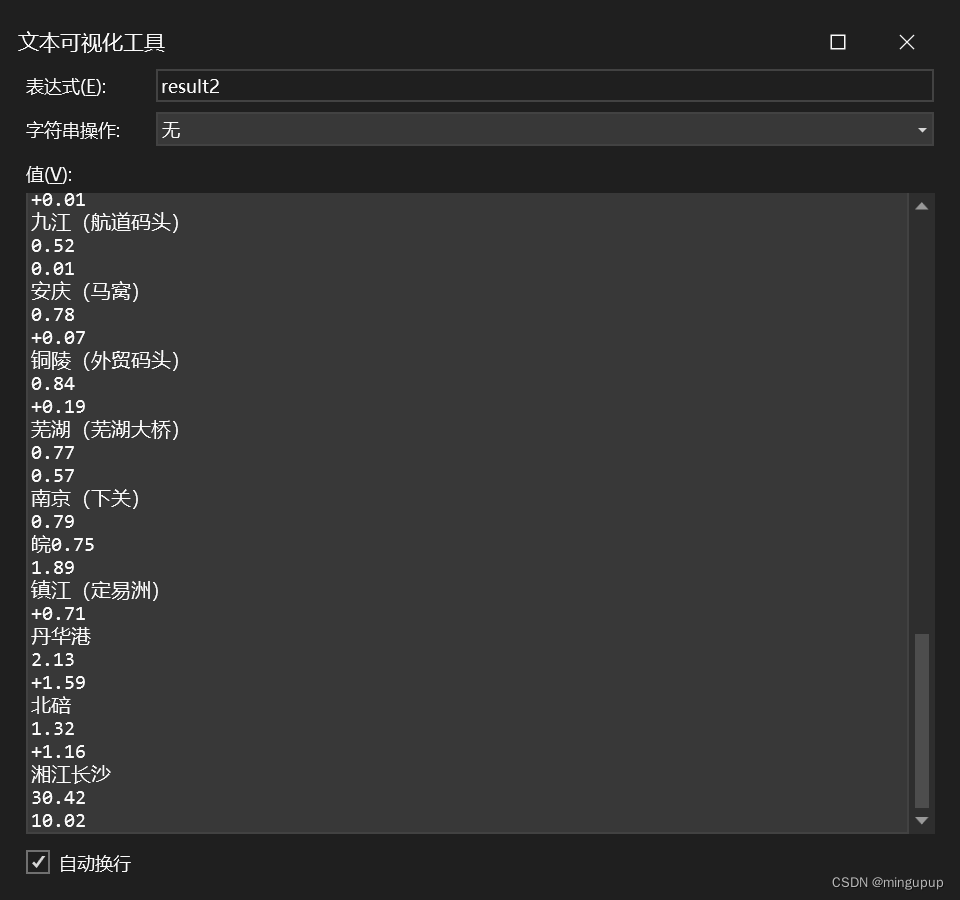
这样就把附带的最后一句话给去掉了
总结
本文简单介绍了C#如何使用Spire.OCR这个库进行图片的文字识别,以及使用该库时的注意事项与该库的缺点,如果需要该程序的全部源代码,可私聊我后台获取~
